 |
| 3 Steps For A Flawless Base – Colour Correct, Powder, Apply Foundation This post contains an affiliate* link. |
You might have already heard that it all begins with a blank canvas and how it should be ‘flawless’ since the start. Let’s be real, nothing is flawless and sometimes the flaws actually add to the personality. However, minimising distractions is the goal to bring attention to the most beautiful aspects. Not that there’s anything wrong with anything (my brain would just not stop justifying everything it comes up with and counter-arguing, ugh). Anyways, in terms of makeup, for a flawless base, it is important to perfect the complexion in order to make your foundation look even.
Of course, the key is to take good care of your skin by focusing on a healthy diet and having a skin care regimen that keeps it clear. However, this more of a pre-requisite and something that you need to control over time. Now, I am no expert but I like to keep my own foundation routine quite simple. It helps me with my skin condition too (I have dermatitis, in case you are new here) and what’s better than getting the job done in just 3 easy steps?
1. Colour Correct
Colour correcting has been a game changer for me over the past year. Thanks to YouTube, we are all much more aware than we used to be but as simple as it sounds, if you haven’t tried colour correcting before, you should. I personally have some major discolorations around my cheek and eye area due to dermatitis (sorry for rubbing it in your face in every single blog post), but a lot of South Asian women or people of similar complexions and undertones complain about ashiness. While that itself in the overall complexion has to be neutralised with a peachy tone foundation, there can be some noticeable discolorations around the mouth area and under the eyes.
So for such conditions an orange concealer/corrector is recommended for olive tones. I myself have never tried an orange concealer but I currently use this NYX Dark Circle Concealer which has orange undertones and it works really well for me. In fact, I believe it is a two in one product as it corrects as well as conceals for me. I can easily go over with my foundation without trying too hard to balance all the shades of my base when going from dark to light to match my overall complexion.
You can tell how much I love this product as I have hit pan on it and I need to restock. To use, I just lightly pat this on my problem areas and let it sit for a few seconds so that it sets a little bit before I move onto step two.
Alternatively, you can opt for a green concealer if you have any red spots and in fact, there is a whole variety of colour correcting shades out there for different concerns so check them out too.
2. Powder
This might be a surprise for many as we have always been told to use all the creams and liquids first and then only go over with a powder. Well, recently I have seen a lot of popular makeup artists and gurus ditching this practice. If you use powder in moderation before applying your foundation, it wouldn’t really mess anything up. The NYX concealer that I use has a tendency of moving around so I like to set it with a powder before applying my foundation. This does make a difference in extending the longevity of my base.
Also, I have huge pores in my problem area so once I cover the discoloration with concealer, I pat the powder on it to fill the pores. You can see the details of this technique on YouTube. I learned it from Goss Makeup Artist. There is more to it but after some trial and error I have tweaked it to what works for me and suits my needs.
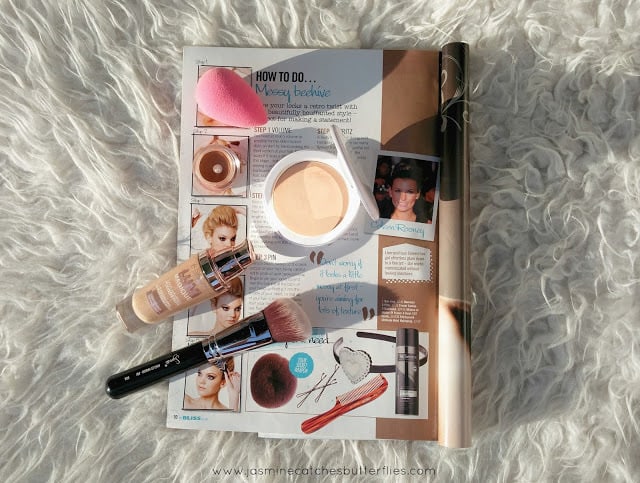
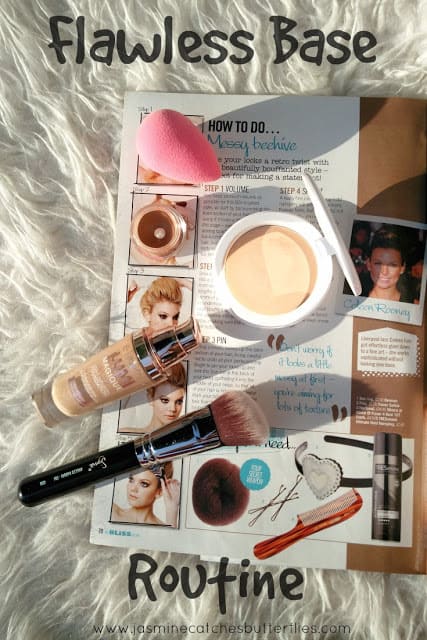
The powder that I love using for this purpose is Maybelline White Super Fresh 12HR Whitening + Perfecting Compact*. It is lightweight so it does not cake on and still sets the concealer in place.
3. Apply Foundation
Onto the main product, choosing the right foundation type and shade is very important so do some research beforehand and take your time when you go for shopping. Test a bunch of shades that you feel would match your skin tone as well as the undertones. I personally like to do this by applying the shade all over my face or doing half and half with two different ones to see which looks better. Also, take some photos in different lightings to really see if you like the final finish.
Foundations are pricier in general in Pakistani currency and it can take some getting used to as well. Being somebody who has an unbalanced skin tone and the fact that my face and neck are three to four shades darker all year round than my body, this can be very tricky. Over time I have learned to make it all seem normal and well blended but honestly, finding the right foundation shade is a challenge.
Two that I have settled on for a long while now are the L’oreal Lumi Magique and Masarrat Misbah Silk Foundation*. I particularly love Lumi Magique for this time of the year as it is light-weight and also hydrating for my dry skin. It does not provide the greatest of coverage but it is buildable and I can get away with it if my skin is in a relatively good condition with lesser discolorations.
On the other hand, the Silk Foundation is more of a better shade match even though it is mattifying. I also like the mix the two sometimes as Silk Foundation on its own tends to oxidise over time. Initially, I did not like mixing it with any other foundation but if I use more of it, then it works and also, my blending tools, which you can find below, are essential for the process.
After this step, you can powder your whole face to set everything in place if you need to. I do not usually since I already have dry skin and I like a dewy foundation finish.
Base Blending Tools:
I am very flexible when it comes to foundation application. I mean I don’t mind using my finger if I have to but the following two are my ride or die blending tools.
1. Beauty Blender
You can find out the full details on why I love my Beauty Blender here, but to put it precisely, this little pink sponge is great when you need to add more product but do not want a cakey look. It seamlessly blends everything and this also gives a better look when I mix my foundations. A Beauty Blender helps in blending a drier formula too as it is used wet.
2. Sigma Beauty F84 Angled Kabuki
This was one of my first brushes from Sigma and while Angled Kabuki is for cream contouring since I couldn’t get F80, I happily settled for this. This brush also provides a nice even coverage and you can easily build the product with it too. For most people, this might be nearly interchangeable with a Beauty Blender when it comes to foundation application but I just prefer the sponge over this sometimes when my skin is extra dry. You can read more about this brush here.
For a flawless foundation application, I like to use patting motions with both the Beauty Blender and the Sigma Beauty F84 Angled Kabuki, especially over my problem areas so that my pores remain filled and do not get overexposed.
So that wraps up my base routine. Share your thoughts and tell me how you guys apply your foundation!


Leave a Reply